Guide
Starting a Packaged Food Brand With a Rented Kitchen
Selling packaged food means more rules but also more reach. Here is how to build a brand step by step.
Free to inquire. We reply by email, usually within one business day.
To start a packaged food brand in a rented kitchen, standardize recipes, test shelf life, choose packaging, design compliant labels, register and insure the business, check manufacturing and retail permits, cost and price products, set batch coding, produce in a licensed kitchen and approach local retailers and markets before scaling to wholesale.
Choose the product and the story
Pick a product with a clear point of difference and a reasonable shelf life. Define your customer, price and story. Check the market for competitors and gaps. Start with one or two products.
A focused product is easier to produce and sell.

Standardize the recipe
Convert the recipe to weights, test at batch size and write a formula with steps, times and temperatures. Repeat until results are consistent.
Sell and grow
Start with markets and local shops, collect feedback and build social proof. Prepare a wholesale pack with specs and pricing. Scale production as orders grow.
See preparing to sell wholesale.
Produce in a licensed kitchen
Choose a kitchen with the right equipment, storage and packing space. Run a trial batch, record yields and refine. Use batch codes and keep records.
See kitchen rental for packaged snack brands and batch coding.
Test shelf life
Store samples under realistic conditions and test over time for safety and quality. Set a best-before date from results. Retailers will ask for evidence.
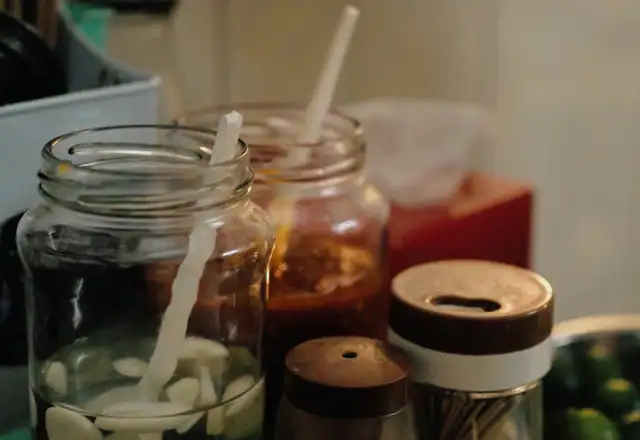
Growing from markets to shops to online
A staged route lowers risk. Start at farmers markets, where you get instant feedback and learn what customers say about taste, price and packaging. Move to local independent shops with a simple wholesale pack, then to online sales with careful shipping rules for your product. Track sales by channel, repeat purchase and margin, and keep the channels that pay. As volume grows, raise production hours, move to a private or production kitchen and standardize processes so that quality holds. Resist chasing large national accounts before your systems can deliver reliably.
Launch checklist
- Define product and story
- Standardize recipe
- Test shelf life
- Choose packaging and labels
- Register, insure and permit
- Cost and price
- Trial batch in a licensed kitchen
- Start with local sales
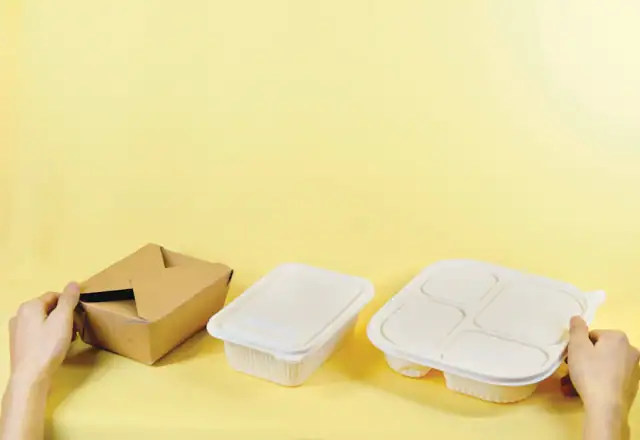
Choose packaging
Pick packaging that protects the product, suits the process (hot fill, chilled, ambient) and fits your brand and budget. Check minimum orders and lead times. Test with real product.
Buy small first, then scale.
Create compliant labels
Labels need product name, ingredients, allergens, net weight, batch code and business details, plus any nutrition panel unless exempt. Check federal and state rules.
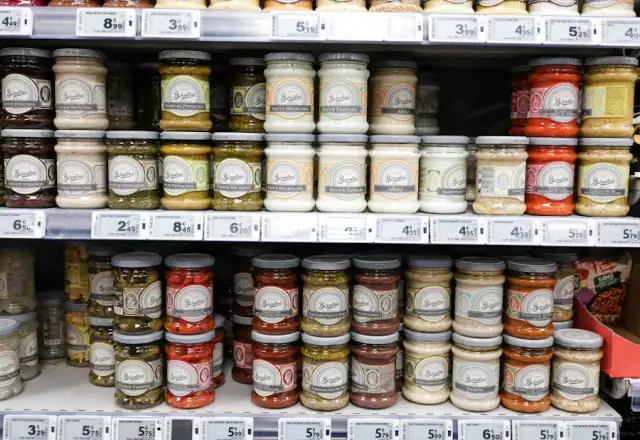
Working with a co-packer later
When demand outgrows your own capacity, a co-packer can produce at scale. Ask about minimums, recipe confidentiality, quality certifications, lead times and costs. Visit the plant, test samples and negotiate a clear specification. Keeping a strong recipe record from the start makes the transfer much easier.
Pricing for retail and distribution
Packaged food passes through margins. A shop may add 40 to 100 percent to your wholesale price, and a distributor takes a cut as well. Work backward from the shelf price customers will pay to find the wholesale price you can charge, then check that your cost of goods leaves a healthy profit after kitchen time, packaging and delivery. If the numbers do not work, change the recipe, size or packaging, not just the price. Offer clear trade terms, minimum orders and delivery schedules, and keep a price list that you update when costs move.
Choosing a launch product that can win
The best launch product is simple, distinctive and repeatable. Look for a gap in your local market, such as a flavor, dietary need or format that shoppers cannot find easily. Check that ingredients are available at consistent quality and price, that the process fits the equipment in a rented kitchen and that shelf life suits retail. Avoid products that need complex processing or very short dates until you have experience. Test two or three prototypes with real shoppers, then pick the one that people ask to buy again. A narrow, well-made first product builds credibility faster than a wide range.
Register, insure and permit
Register the business, complete training, arrange product liability insurance and check manufacturing and retail permits. Some products need process review.
See rental requirements.
Compliance checks before the first sale
Before you sell, confirm the basics: production in a licensed kitchen, your own permits for manufacturing and retail, compliant labels with allergens and net weight, batch codes and insurance. Some products, such as acidified or low-acid foods, need process review by an expert. Keep records of ingredients, cleaning and temperatures, and test shelf life. Ask your health department what inspections to expect and how they handle products made in a rented kitchen. Documenting everything now makes your first retailer conversation straightforward and protects you if something goes wrong.
Cost and price
Include ingredients, packaging, labor, kitchen time, waste, shipping and a margin that allows for retailer and distributor cuts. Test price points.
See recipe costing and pricing your food products.
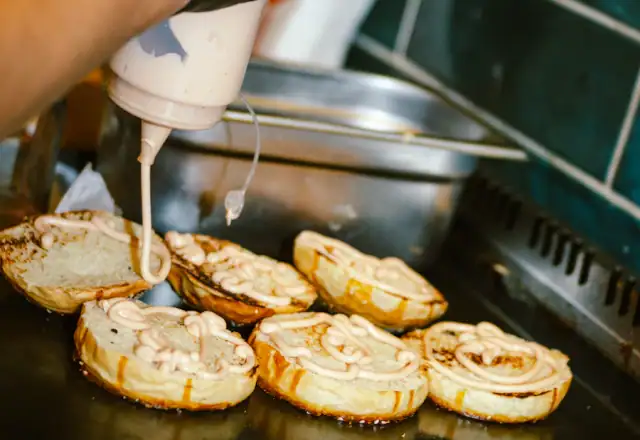
Packaging, design and brand basics
Packaging does two jobs: it protects the product and it sells it on a crowded shelf. Choose materials that suit your process, such as glass for hot-fill sauces or foil pouches for snacks, and check minimum order quantities before you commit. Hire a designer or use a template to create a label that is legible, compliant and memorable, with clear allergen information. Order small print runs first, because recipes and labels change after early feedback. Keep a brand guide with fonts, colors and a short story so every channel looks consistent, from jars to your website.
More on starting and growing a food business
This page is part of our starting and growing a food business guide. Follow the pathways below to move up to the overview, compare alongside topics or go deeper into the detail.
Start with the overview
- Kitchen Rental Resource CenterPlain-English guides organized by what you need to do: choose a kitchen, operate safely and…
- Pricing and Rental PlansA clear explanation of what you pay for, what changes the price and how to get a quote…
- How Renting WorksSix clear steps from first inquiry to your first confirmed session, with what to prepare…
Compare alongside
- Testing a Food Business Idea Before a Long LeaseA cheap test teaches you more than a big plan. Here is how to validate demand before you…
- Starting a Delivery-Only Food BusinessDelivery-only brands skip the dining room but face new challenges. Learn how to launch lean…
- Recipe Costing for Small Food BusinessesYou cannot price well without knowing what each unit costs. Learn to cost a recipe…
- Starting a Food Truck with a Commissary BaseA food truck is a kitchen on wheels that still needs a real kitchen behind it. Here is how…
Go deeper
- Kitchen Rental for Small Food ManufacturersRepeatable production, batch control and dispatch for growing food manufacturers who have…
- Kitchen Rental for Sauce and Condiment BrandsBatch cooking, filling and container handling for sauce, dressing and condiment brands…
- Kitchen Rental for Packaged Snack BrandsBaking, frying, seasoning and packing capacity for snack makers, plus the storage and…
- Planning Shelf-Life Testing for a Food ProductA best-before date should come from evidence, not guesswork. Here is how to plan a sensible…
Frequently asked questions
Straight answers to the questions food businesses ask most about starting a packaged food brand.
Do I need a nutrition label?
Often, unless exempt. Check rules.
How do I test shelf life?
Store samples and test over time.
Can I sell online?
With permits and compliant labels.
Do I need a co-packer?
Not at first.
What kitchen format?
Shared to start.
How do retailers decide?
Quality, price, labeling and reliability.
Put this guide into practice in a real kitchen
Tell us about your food business and the hours you need. We match you with a licensed kitchen and send a written quote.