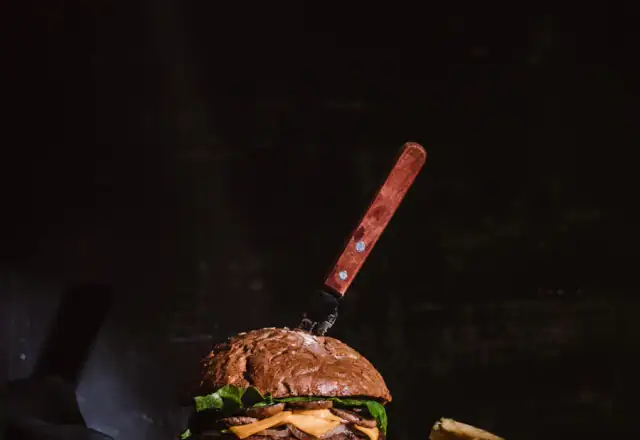
Guide
Photographing Food Products in a Kitchen Studio
Good photos sell food. Learn how to light, style and shoot your products in a commercial kitchen without compromising safety.
Free to inquire. We reply by email, usually within one business day.
To photograph food products in a kitchen studio, book a quiet slot, use natural or soft artificial light, choose clean surfaces and simple props, style food fresh and keep it at safe temperatures, use a tripod and consistent camera settings, keep crew and equipment away from food contact surfaces and clean down fully afterward. Plan shots in advance.
Why product photography matters
Photos are your shop window, especially online. Good images build trust and raise sales, and a rented kitchen offers a clean, professional setting. A bit of planning gives you a reusable library of images.
You do not need expensive gear, but you do need a plan.
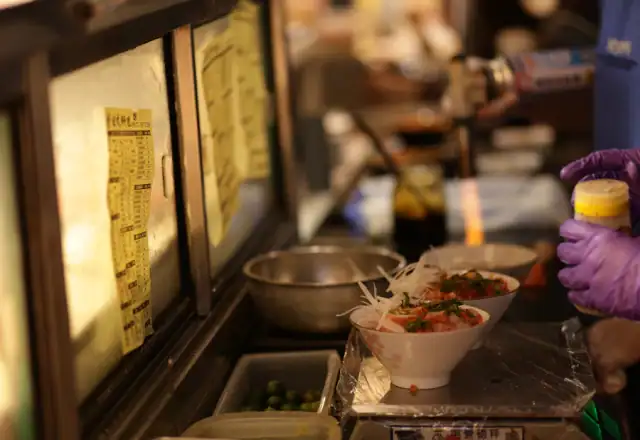
Plan the shoot
Write a shot list with products, angles and props. Decide on style and backgrounds. Book a quiet slot and confirm what you can use. Tell the operator your plans.
See kitchen studio hire.
Photography on a small budget
You can create professional-looking images with a phone, a window, a sheet of white foam board and a simple background such as a wooden board or paper. Use a tripod or a stack of books for stability, clean the lens and turn off the flash. Batch your shoots so that one session covers several products, which saves kitchen time.
Where to publish and how often
Post new images on your website, marketplace listings and social channels whenever you launch a product or change packaging. Refresh seasonal images every year, and keep a library of approved photos that wholesale buyers can download. Consistent visuals across channels make your brand easier to recognize.
Control the light
Soft light from a window or a large diffuser flatters food. Avoid harsh overhead lights and mixed color temperatures. Use reflectors to fill shadows.
Test a shot and adjust before styling.
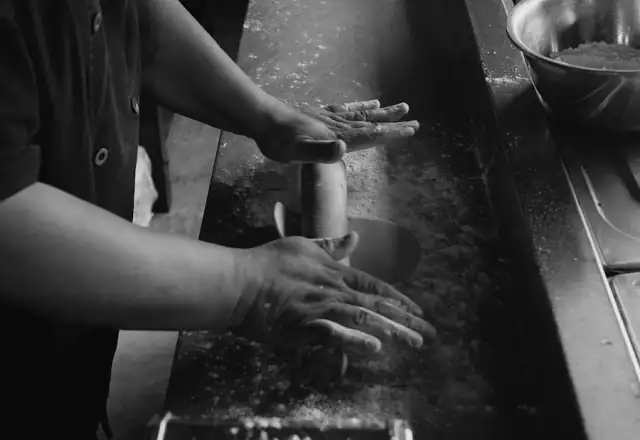
Light, angle and background
Natural light from a window gives soft, flattering results; use a white card to bounce light into shadows and a diffuser to soften harsh sun. Shoot from above for flat items, such as pizza and platters, and from the side for tall items, such as burgers and jars. Choose backgrounds that contrast with the food and keep them clean. Keep reflections, fingerprints and stray crumbs out of frame, and match the style across all images so that your brand looks consistent.
Editing and using images
Edit for color and sharpness, crop for platforms and name files well. Use alt text for web images. Keep a library with dates and product details.
Check image rights for any props or backgrounds.
Shot list template
- Hero shot on a clean background
- Close-up of texture
- Product in use or served
- Ingredients flat lay
- Packaging front and back
- Scale shot with a hand or utensil
Shoot all six for each new product so that you have images ready for the website, wholesale sheets and social media.
Use photos where they convert
Put your best image first on product pages, wholesale sheets and marketplace listings, and test different hero images to see which gets more clicks. Add a short video or a series of photos showing process and packaging when you can. Update photos when the recipe or packaging changes. Strong, honest images build trust, shorten buyer decisions and often cost less than one month of ads.
Choose surfaces and props
Use clean, simple surfaces such as wood, marble or paper. Choose props that support the story without distracting. Keep props clean and food safe.
Bring your own backgrounds so that you control the look.
Style the food
Prepare food fresh and style quickly. Use stand-ins for testing the shot, then use the hero product. Add garnishes at the last moment and keep hot food hot until shooting.
Use safe methods and do not eat food that has sat under lights.
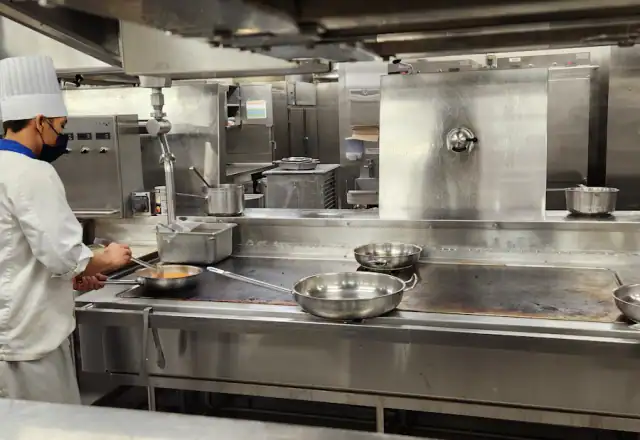
Camera settings and consistency
Use a tripod and consistent settings for a series. Shoot at a similar angle and distance for each product so they look like a set. Check focus and color.
Shoot in RAW if you can and edit consistently.
Clean down and leave the kitchen ready
Remove props, wipe surfaces, wash dishes and take everything with you. Leave the space as you found it.
Allow time at the end of your slot.
Plan the shots before you cook
Good product photos start with a list: the hero shot of the packaged product, a close-up of texture, a serving or in-use shot, an ingredient shot and a lifestyle image. Decide where each will be used, such as your website, marketplace listing, wholesale sheet or social media. Prepare props, backgrounds and labels in advance, and cook or assemble the food last so that it looks fresh. Planning cuts the time you spend in the kitchen and avoids reshoots.
Edit, name and optimize files
Edit lightly: correct white balance, crop to the intended ratio and sharpen slightly. Avoid heavy filters that misrepresent the product, which can create complaints and may break advertising rules. Name files descriptively, resize them for the web so pages load quickly and add clear alt text for accessibility and search. Keep originals organized by product and date so that you can reuse images for catalogs and packaging.
Photograph in a rented kitchen safely
If you shoot in the kitchen, agree timing with the operator so that you do not block other tenants, keep equipment and food-contact surfaces clean, and avoid placing props on prep tables used for food. Do not shoot other tenants, their products or branding without permission. Remove cameras and stands from food zones during production. Clear communication prevents problems and shows professionalism.
Avoid misleading images
Photos must represent the product honestly. Do not show ingredients that are not included or portion sizes that you do not serve. Misleading images can cause complaints and may violate advertising rules. Honest photos build trust and reduce returns.
Food safety on set
Wash hands, tie back hair and keep personal items away from food. Keep cameras and equipment off food contact surfaces. Maintain temperatures and clean thoroughly afterward.
See kitchen rules.
More on starting and growing a food business
This page is part of our starting and growing a food business guide. Follow the pathways below to move up to the overview, compare alongside topics or go deeper into the detail.
Start with the overview
- Kitchen Rental Resource CenterPlain-English guides organized by what you need to do: choose a kitchen, operate safely and…
- Pricing and Rental PlansA clear explanation of what you pay for, what changes the price and how to get a quote…
- How Renting WorksSix clear steps from first inquiry to your first confirmed session, with what to prepare…
Compare alongside
- Planning a Product Development TrialA focused trial turns a recipe idea into a product you can make repeatedly and profitably.
- Designing a Menu for Efficient ProductionA smart menu is shorter, shares ingredients and fits your equipment. It saves hours and…
- Planning Shelf-Life Testing for a Food ProductA best-before date should come from evidence, not guesswork. Here is how to plan a sensible…
- Standardizing Recipes Across Production RunsCustomers notice inconsistency instantly. A standard recipe makes your product repeatable…
Go deeper
- Kitchen StudioA working professional kitchen for filming, photography and content, with the practical…
- Test and Development Kitchen RentalPrivate space and professional equipment to develop recipes, run trials and prepare samples…
- Kitchen Rules and HygieneClear standards protect your food, your reputation and the other businesses using the…
- Starting a Packaged Food BrandSelling packaged food means more rules but also more reach. Here is how to build a brand…
Frequently asked questions
Straight answers to the questions food businesses ask most about photographing food products in a kitchen.
Do I need a studio?
A clean kitchen bench and window light can work.
Can I eat the food after the shoot?
Not if it sat under lights for long.
Can I bring crew?
Tell the operator in advance.
What equipment do I need?
Camera, tripod, reflector and backgrounds.
How long should I book?
Half a day for several products.
Can I shoot at night?
Often, with 24-hour access.
Put this guide into practice in a real kitchen
Tell us about your food business and the hours you need. We match you with a licensed kitchen and send a written quote.